11 min read
You don't need a gallery of Canva designs. You need one ATS-friendly resume template you can reuse, tailor, and trust when Workday imports your file at 11 p.m. on a Tuesday. If you're still swapping layouts every application, you're fixing the wrong problem.
Before you pick margins and fonts, check your current resume for free and see what already parses. This guide walks through the single-column anatomy that survives Workday and Greenhouse in 2026 — not a catalog of pretty designs that break on upload. For broader context, read how to beat an ATS system and which keywords an ATS looks for .
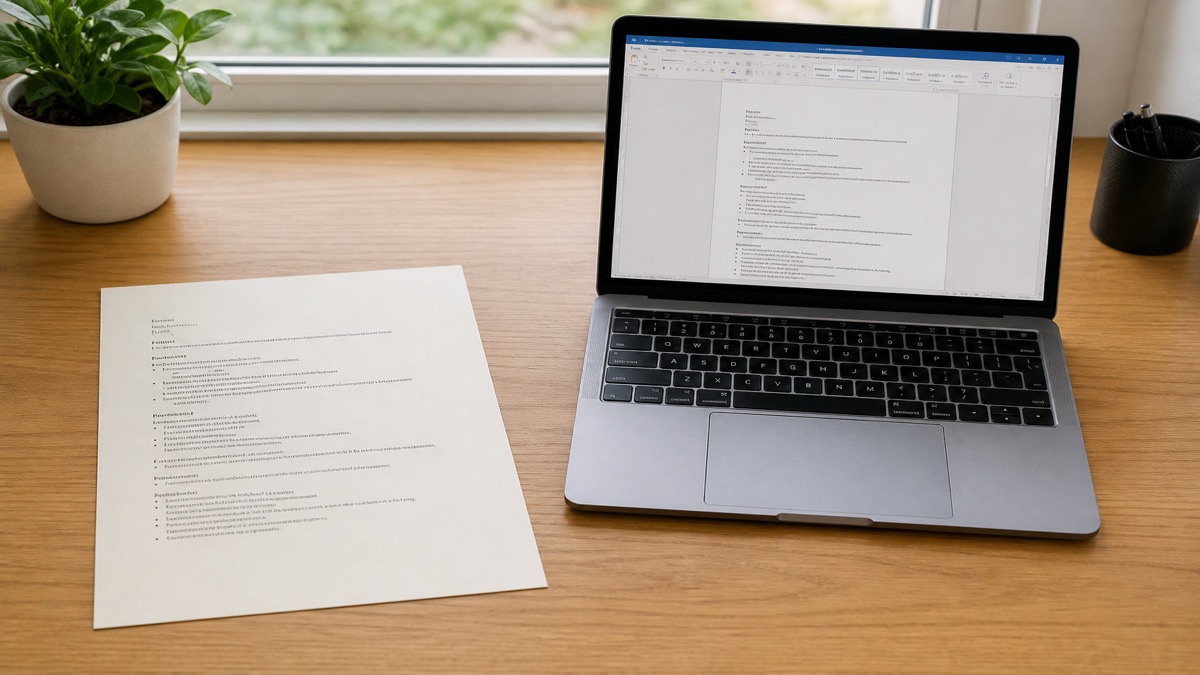
The right template is a durable container, not a finished resume. Its job is to preserve hierarchy while you swap summaries, skills, and bullets for each application. Boring wins here.
Quick Wins
- Switch to a single-column layout and move contact details out of the header into body text.
- Set margins to 0.7 inches and body font to 11-point Calibri or Arial.
- Paste your resume into Notepad and confirm dates stay beside the correct employer.
What an ATS-friendly resume template actually is
An ATS-friendly resume template in 2026 is a single-column document with 0.5-to-1-inch margins, a common 10.5-to-12-point font, standard headings, inline dates, and selectable text. Contact details live in the body. Experience runs reverse-chronological. Icons, skill bars, and photos are gone.
An ATS-friendly template preserves reading order when styling disappears — not when it looks impressive on a designer's portfolio.
This is not about finding a magic Word file from a template marketplace. It is about one linear structure that stays readable when content changes and when a parser copies your text into plain format. A template that only looks balanced with one exact amount of text is fragile. A good one tolerates a longer employer name, a four-line bullet, a second page, and a changed Skills list without breaking alignment.
Workday often converts an uploaded resume into profile fields. Greenhouse stores the file and extracts searchable text. Neither awards points for decorative layout. Both punish tables, sidebars, and contact data trapped in headers. The template lowers parsing risk; it does not replace relevant evidence.
I've screened stacks of these, and the file that wins is boring and specific. Pick one container and stop redesigning it every week.
Build your ATS-friendly resume template step by step
Step 1: Start with a blank single-column page
Put your name and contact line at the top, followed by a targeted summary when it adds useful context, then Skills, Professional Experience, Education, and optional Certifications or Projects. That order lets a recruiter see identity, fit, proof, and credentials without hunting across sidebars.
Use ordinary body text, bold type, spacing, and thin horizontal rules sparingly. Do not depend on color, icons, headshots, ratings, logos, or shapes to communicate meaning. Write Phone, Email, and LinkedIn only if labels improve clarity — the values themselves must be text.
Step 2: Set margins, spacing, font, and type sizes
Set US Letter size for US applications unless the employer requests another format. Begin with 0.7-inch margins on every side. You can move within the 0.5-to-1-inch range, but keep them consistent. Margins under 0.5 inch crowd the page; one-inch margins can waste space on a dense two-page resume.
Choose a common font: Arial, Calibri, Aptos, Helvetica, Georgia, or Times New Roman. Body text at 10.5 to 12 points is readable; 11 points is a strong default. Use 13 to 16 points for section headings and 18 to 24 points for your name. Avoid condensed display fonts and extremely light weights.
Use 1.0 to 1.15 line spacing and add 4 to 8 points after bullets or entries rather than inserting random blank lines. Use black or near-black text on white. Bold role titles or employer names consistently — visual emphasis should identify structure, not compete for attention.
Step 3: Use standard headings and deliberate section order
Use labels recruiters and software already recognize: Professional Summary, Skills, Professional Experience, Education, Certifications, Projects. Creative substitutes such as My Journey or What I Bring add no value and can weaken field classification. Keep each heading on its own line and follow it immediately with relevant content.
For most experienced applicants: Contact, Summary, Skills, Experience, Education, Certifications. For students or recent graduates, Education can move above Experience when coursework and projects are stronger evidence. Career changers may place a compact Summary and Relevant Skills before Experience, but do not hide chronology.
Do not create a separate section for every small fact. Languages can sit under Skills; awards can join Education or Additional Information. Every heading consumes space and creates another field boundary.
Step 4: Build the experience block for parsing and persuasion
Each job entry needs four anchors: employer, location, role title, and dates. A reliable pattern is employer and location on one line, then title and month-year range on the next. Pick one pattern and use it for every position. Avoid floating dates in a distant right rail — extraction can attach a date to the wrong employer.
Under each job, write three to six bullets focused on outcomes, scope, decisions, and tools. Lead with a specific action, name the work object, and add a result or operating context.
Weak: Managed projects.
Stronger: Coordinated six regional store openings in Asana, resolving vendor dependencies and delivering all sites before seasonal launch.
Keep bullets as real text with standard round bullets or hyphens. Do not place every bullet in a separate text box. When tailoring, use exact job-related language where accurate — the goal is not to copy the advertisement but to make genuine overlap easy to retrieve in recruiter search.
Step 5: Verify the template in Workday and Greenhouse
Workday often converts an uploaded resume into profile fields for work history, education, and skills. A visually correct file can still produce a poor profile if dates float away from employers or contact details sit in a header. Review every populated field after upload.
Greenhouse commonly stores the original file, extracts searchable text, and lets recruiting teams search candidates. Plain text headings, conventional chronology, and job-description terms still matter. After uploading to either platform, inspect the candidate preview. If the platform asks you to re-enter information, complete the fields accurately instead of writing see resume.
For platform-specific troubleshooting, use the guide to Workday resume format in 2026 . The safest template is one that survives both the upload and the human review that follows.
| Element | Recommended setting | Avoid |
|---|---|---|
| Layout | One column | Sidebars and overlapping text boxes |
| Margins | 0.5 to 1 inch | Edge-to-edge text |
| Body font | Common font, 10.5 to 12 pt | Condensed or decorative display type |
| Headings | Summary, Skills, Experience, Education | Creative labels |
| Dates | Inline with the related record | Detached date rail |
| File | Requested DOCX or text PDF | Scanned or image-only PDF |
Before and after template fixes
Before: a name appears in a large banner, phone and email live in the header, and a photo fills the upper-right corner.
After: the name appears as ordinary text at the top of the body, followed by city and state, phone, email, and LinkedIn on one selectable line.
Before: a left sidebar contains skill bars labeled Excel, SQL, and Leadership, while the right column holds employment.
After: a Skills line states Data: SQL, Excel, Tableau | Operations: forecasting, inventory planning, vendor management, followed by a single chronological Experience column.
Before: dates are isolated in a far-right text box and bullets say Responsible for reports.
After: each date is inline with the correct role, and bullets state Automated weekly inventory reporting in Excel Power Query and Trained five coordinators on the revised purchase-order workflow. Replace example facts with your own evidence.
For deeper bullet patterns, read how to write outcomes instead of duties .
Edge case: career changers and two-page resumes
Career changers should keep chronology visible. A functional template that detaches skills from dated jobs makes credibility harder to assess. Use a compact Relevant Skills section and a summary that names the target role — do not hide employment dates.
Two pages are normal for experienced professionals. Do not shrink font or margins to force one page. Use the length required to show relevant evidence. Students and early-career candidates often fit one page; mid-career applicants with ten years of relevant work may need two.
For overlapping contract and W-2 roles, list both with honest dates. A one-line note — Concurrent with role below — is enough context. Adjusting dates to hide overlap reads worse than labeling it.
Ten-point pre-submit checklist
- Confirm page size, margins, and one-column order.
- Check type size, contrast, and spacing.
- Move contact data and headings into the body.
- Pair every role with employer and dates.
- Replace skill graphics with plain-text terms.
- Tailor truthful skills and accomplishments to the posting.
- Export to the requested format.
- Copy the file into plain text and inspect order.
- Open the attachment on another device and test every link.
- Upload and review all parsed fields in the employer portal.
Template mistakes that break ATS parsing
Using a two-column Canva or Word template with a sidebar. Sidebars force parsers to guess reading order. Skills can attach to the wrong job entry. A single column removes that gamble.
Placing contact information only in the header or footer. Some Workday configurations skip header and footer regions entirely. Name, email, and phone must be selectable body text.
Using invisible tables to align dates on the right margin. Toggle Word gridlines — if you see a grid around dates or skills, rebuild that section as plain stacked text.
Replacing words with icons, skill bars, or star ratings. Parsers read text, not graphics. A five-dot Salesforce rating is invisible to search. Write the tool name in plain text with a dated bullet for context.
Choosing a template for looks instead of tolerance. If adding one four-line bullet breaks the layout, the container is too fragile. Pick a template that survives content changes.
Assuming PDF is always safer than DOCX. Follow the posting. A scanned or flattened PDF is worse than a plain DOCX. Test the exact exported file with a paste test before submitting.
Build, tailor, and test with HireFlow
Build the structure without wrestling layout in the free resume builder , then tailor the saved copy to one posting. A sound template removes layout uncertainty, but it cannot replace relevant evidence.
Compare the tailored file with the job description using the free ATS resume checker . Look for missing sections, parsing warnings, and weak alignment with required terms. Fix structure first, then bullets.
If the posting requests a cover letter, draft one with the cover letter generator and keep employer names consistent across letter, resume, and portal fields.
Run the full compatibility workflow in how to check resume ATS compatibility free before every submission.
Use one ATS-friendly template, then tailor the proof
The ATS-friendly resume template that works in 2026 is not the flashiest design. It is one single-column file with standard headings, inline dates, readable type, and contact details in the body — tested before every upload.
- One column and standard headings protect reading order.
- Dates beside each role prevent scrambled Workday imports.
- Tailored evidence inside a stable container is the complete strategy.
Build your clean version, check your resume for free , and submit only after the plain-text paste test and portal preview both look right. Stop swapping templates. Start proving fit.
Read more
Frequently asked questions
Use a plain single-column template with standard headings, conventional fonts, inline dates, and no text boxes, icons, charts, or information stored in headers and footers. The best template preserves a clear reading order when copied into a plain-text editor.
Use margins between 0.5 and 1 inch, with 0.65 to 0.8 inch working well for most documents. Keep every margin consistent and avoid pushing text into edge zones merely to save a line.
Arial, Calibri, Aptos, Helvetica, Georgia, and Times New Roman are dependable choices. Use one font family, 10.5 to 12 point body text, and larger bold headings. Font choice matters less than clean text extraction and readable spacing.
Some parsers can, but results vary by file, platform, and field mapping. A two-column layout creates avoidable reading-order risk. A single column is the safer default for Workday, Greenhouse, and employer systems you cannot test.
Follow the posting. DOCX is the conservative choice when both are accepted; a text-based PDF exported from Word or Google Docs is usually readable. Never upload a scan, photo, or flattened design file unless specifically requested.