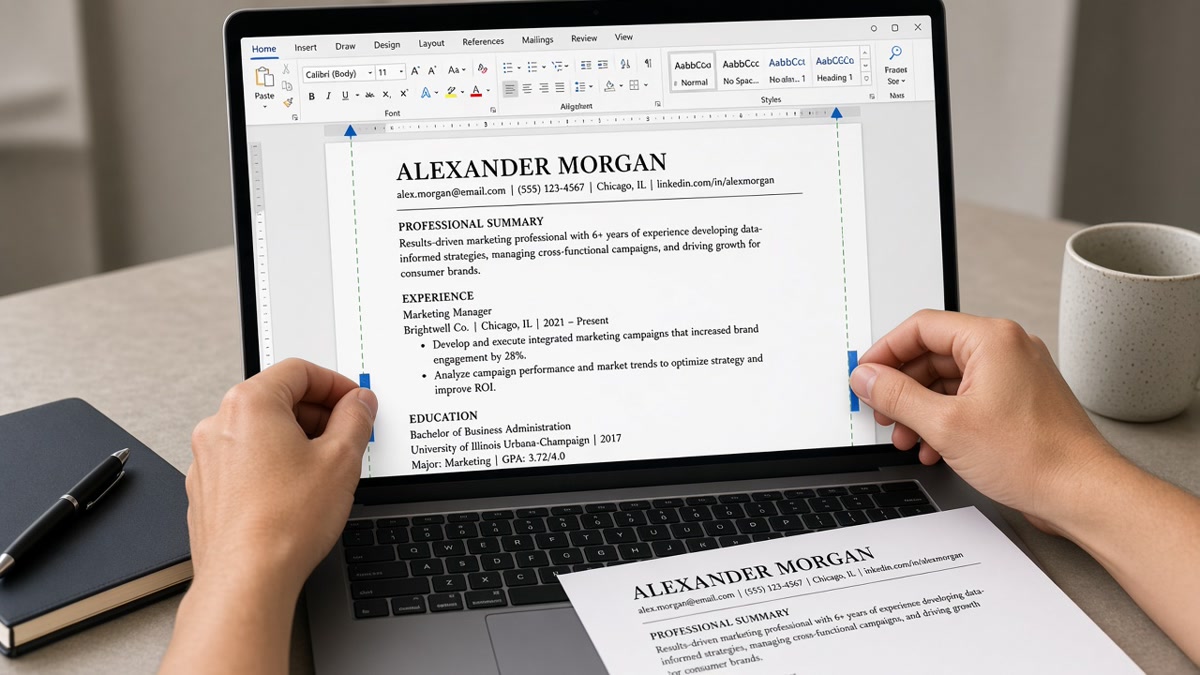
8 min read
Tight margins squeeze more words onto one page. They also squeeze out the recruiter's attention. A file that looks efficient on your screen can read like a single block when Greenhouse strips the formatting and drops it into plain text.
You're not choosing between "pretty" and "ATS-safe." You're choosing which layout still makes sense when a tired recruiter opens the twentieth file of the morning. That's why margin width, line spacing, and column count matter as much as bullet wording, and it's why you'll want to test the file after any change.
Before you resize anything, check your resume for free and see how your current spacing exports. If sections run together in plain text, fix layout before you rewrite bullets. Pair that with a cover letter when the posting asks for one so both files share the same clean structure.
The comparison below walks tight vs standard margins, cramped vs breathable spacing, and single-column vs multi-column layout so you can pick a setup you'll keep across uploads.
Resume margins spacing and layout explained: tight vs standard setups
Layout decisions stack. Margins set the frame. Line spacing controls how bullets breathe. Column count decides reading order when a parser exports plain text. Change one without the others and the file still feels off.
Standard margins with section gaps usually win when you need both ATS import and a human skim. Tight margins can work for dense technical profiles, but only if you keep a single column and don't shrink font below 10.5 point.
| Layout choice | Tight setup | Standard setup | Pick standard when… |
|---|---|---|---|
| Page margins | 0.5 inch all sides | 0.75 to 1 inch | Recruiters skim on laptop screens and print |
| Line spacing | 1.0, bullets touching | 1.0 to 1.15 body, gap between roles | You have three or more roles to separate |
| Section spacing | Headers sit flush on bullets | 6 to 12 pt before major headers | Workday preview hides bold styling |
| Columns | Two columns, skills sidebar | Single column, top to bottom | You apply through an ATS portal |
| Body font | 9 to 10 point to fit one page | 10.5 to 11 point Calibri or Arial | Hiring manager reads on a phone preview |
When tight margins make sense
Academic CVs, federal forms with fixed boxes, and some healthcare credential packets expect dense pages. Corporate US roles in Workday or Lever rarely reward that density. If you're under eight years of experience and every line counts, 0.5 inch margins with tight bullets can hold one page without dropping font size.
Before: 0.4 inch margins, 9-point font, six bullets per role, no space between sections.
After: 0.5 inch margins, 10.5-point font, three bullets per role, blank line before each header.
When standard margins make sense
Most corporate roles, manager-and-above postings, and any application where a recruiter compares you to five peers in one sitting. The extra white space isn't wasted. It signals where one job ends and the next begins.
Before: Name and contact block eat four lines; Experience header sits on the same line as the first company.
After: One-line contact row, 12 pt gap before Experience, 6 pt gap between each role block.
Single-column vs sidebar layout
Sidebar layouts put skills in a narrow column and experience in a wide column. Parsers often read down the left column first, which can stack skills above your current title in plain text. Single-column keeps company, title, dates, and bullets in the order you intend.
DOCX export settings that improve US ATS parsing covers file-level fixes that pair with margin choices when Word shifts spacing on save.
Set margins and spacing in six moves
- Open Page Layout and set margins to 0.75 inch on all sides (0.5 inch minimum if you must fit one page).
- Set body font to 10.5 or 11 point Calibri, Arial, or Helvetica. Keep your name at 14 to 16 point.
- Apply 1.0 or 1.15 line spacing to body text. Do not double-space the whole file.
- Add 6 to 12 pt space before section headers (Experience, Education). Add a blank line between roles.
- Switch to single-column layout. Move skills into a plain list under a Skills header, not a sidebar.
- Export PDF, paste plain text into Notepad, and confirm headers and dates still appear in order.
Copy-paste spacing preset (Word/Google Docs):
{`Page margins: 0.75" all sides
Body: Calibri 11 pt, line spacing 1.08
Section headers: Bold, 12 pt, Space Before 10 pt, Space After 2 pt
Role block: Company bold | Title regular | Dates right-aligned or same line
Between roles: blank line (or 6 pt paragraph spacing after last bullet)`}
I've screened stacks of these in Workday and Greenhouse, and the file that moves forward is almost always single-column with margins you can actually read on a laptop, not the one that crams twelve years onto one page at 9 point.
If plain text paste shows your skills block above your current job title, your columns or text boxes are fighting the parser. Flatten to one column before you upload again.
Right-aligned dates work when every role uses the same alignment. Mixed left dates on one job and right dates on another looks sloppy and can confuse export order in some portals.
Headers and footers are another hidden margin trap. Contact info tucked in a Word header often disappears in ATS text view. Keep email and phone in the body, directly under your name.
Layout traps that waste a strong profile
- Shrinking margins before cutting content: you gain two lines and lose scan clarity.
- Tables for alignment: parsers read cells out of order; use tabs or plain lines instead.
- Skill bars, icons, or charts: they rarely survive text export and eat margin space.
- Inconsistent spacing between roles: one big gap and three tight jobs looks uneven.
- Centered section titles: left-aligned headers scan faster and map cleaner in plain text.
- Contact row split across three lines: pushes experience below the fold on page one.
Before: Two-column Canva template, skill percentages in a left rail, 0.4 inch margins, footer phone number.
After: Single-column DOCX, Skills as a six-item list, 0.75 inch margins, one-line contact under the name.
Job searching is already draining. A layout fix is one of the few changes you can finish in twenty minutes and test immediately. You don't need design software. You need consistent spacing a parser can repeat.
Chronological vs functional resume in 2026 explains when section order changes, which matters once your margins and spacing are stable.
Test layout before you upload
Run your file through a checker after you change margins or spacing. You're looking for merged sections, missing contact lines, and bullets that ran together when the formatter stripped styles.
Run the ATS checker on your spaced layout and read the plain-text preview before you submit to Lever or iCIMS. Fix column bleed first.
Build your resume with default margins and single-column structure if you're rebuilding from a cramped template. Starting clean beats fighting a two-column export.
Pick readable over cramped
Margin width, line spacing, and column count decide whether a strong profile gets read or skimmed past. Once resume margins spacing and layout explained clicks for you, the fix is mostly spacing presets, not a full rewrite. Standard margins with deliberate section gaps usually beat a one-page file that hides your best bullet below a wall of text.
Set 0.75 inch margins, keep 11-point body text, stay single-column, and paste plain text once before upload. If the structure survives that test, you've solved most layout problems without touching your experience content.
When you're torn between one cramped page and two readable pages, choose readable. Recruiters remember the candidate they could follow, not the one who fit the most words into the smallest box.
Read more
Frequently asked questions
0.5 inch is the practical floor for US resumes. Smaller margins look cramped on screen and in print, and dense blocks can blur together when a recruiter scans fast. If you need room, trim bullets before you shrink margins below 0.5 inch.
Use 1.0 to 1.15 line spacing for body text and add a slightly larger gap between roles and section headers. Double spacing every line wastes space. No gap between sections makes headers hard to spot in Workday previews.
Single-column layout is safer. Multi-column designs often reorder text when parsers export plain text, which can push skills or dates into the wrong section. Save two-column versions for direct email when you know a human opens the file first.
Drop font below 10.5 point only as a last resort. Cut older role bullets or shorten the summary first. A readable 11-point file on two pages usually outperforms a 9-point wall of text that nobody finishes.